Custom graphics on a dirt bike are not just a way to show off personal style; they’re also a vital element in the overall riding experience. For the dirt bike enthusiast, adorning your machine with vibrant designs is almost as essential as tuning up the engine or maintaining the tires. Graphics add character to your bike, make it easily recognizable, and can reflect your individuality on the track or trail. This comprehensive guide is designed to help dirt bike enthusiasts navigate the intricate process of selecting, applying, and maintaining graphics on their rugged machines.
Understanding Graphics in Dirt Biking
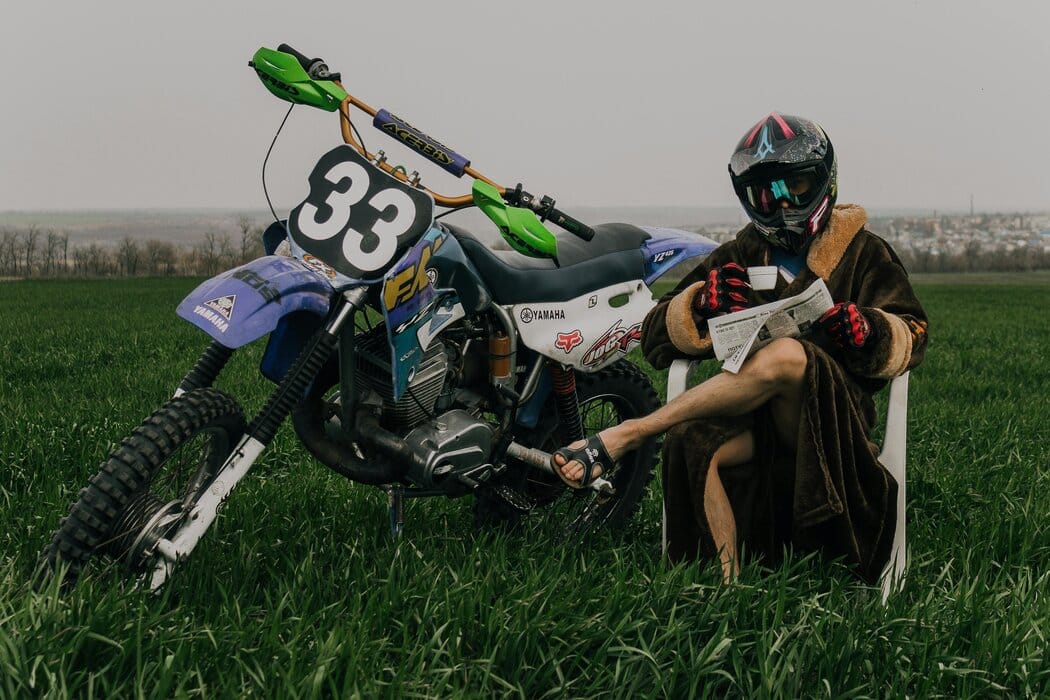
Graphics on a dirt bike serve multiple purposes, and their importance goes beyond mere decoration. They provide a surface for sponsors’ logos, making them a gateway to financial support for riders. In terms of personal use, they allow riders to express their style, attitude, and affiliation, forming a part of their identity in the biking community. The visibility of graphics also aids recognition, which can be crucial in racing scenarios. A good set of graphics can make your bike look professional, sleek, and, above all, unique.
When it comes to choosing graphics, it’s important to think about more than aesthetics. Graphics protect the bike’s plastics from scratches and fading caused by UV rays. They’re your first line of defense against the elements and can significantly extend the life of your bike’s exterior.
Types of Graphics for Dirt Bikes

There are two primary types of graphics that dirt bikers can choose from: ready-made and custom. Ready-made graphics are quick and easy to purchase, often featuring a variety of styles that can accommodate different tastes. On the other hand, custom graphics offer ultimate personalization, where you can tailor a design to your exact specifications.
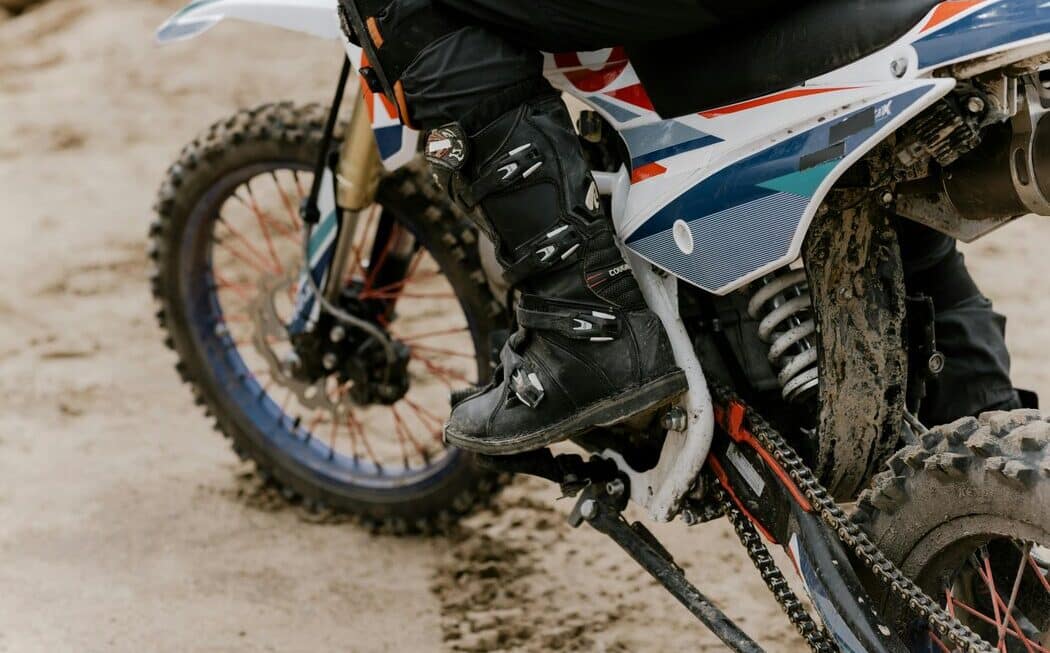
Materials vary from vinyl to thick protective films with adhesive backing. Each has its advantages; vinyl is affordable and easily replaceable, while thick films offer enhanced protection and may last longer. Durability is crucial, especially in an extreme sport like dirt biking where machines are subjected to high-stress conditions.
How To Put Graphics On A Dirt Bike-Application Techniques
Applying graphics might seem like a straightforward task, but it’s the details that can make the difference between a professional-looking job and a messy one. Here’s a step-by-step guide:
- Preparation is key. Start with a clean bike and a clean working environment. Remove any old graphics or adhesive residue with a mild solvent.
- Positioning the graphics is crucial. Measure multiple times and use reference points to ensure symmetry.
- Smooth application is vital. Air bubbles can compromise adhesion and aesthetics. A squeegee tool can aid in pushing out bubbles to achieve an even application.
- Trimming the edges neatly is the final touch. Use a sharp blade and a steady hand to get straight, clean lines.
For a professional-looking result, patience and precision are your allies.
Design Inspiration
When it comes to the design of your dirt bike graphics, the only limit is your imagination. Still, it can be helpful to draw inspiration from current trends and popular designs. Digital platforms are treasure troves of inspiration, from the latest racing styles to avant-garde graphics in other motor sports. Social media communities for biking and graphic design are ideal places to scout for fresh ideas.
Unique designs can turn your bike into a head-turner, so don’t shy away from implementing innovative elements. Flourescent and reflective materials are increasingly popular for enhancing visibility and giving a modern, tech-savvy edge to your graphics.
Maintenance and Removal
To preserve the lifespan of your graphics, proper maintenance is necessary. Avoid harsh chemicals and pressure washing directly on the graphics. Regular cleaning with mild soap and water can keep them looking new for longer. In the event of damage, quick replacement of compromised sections can maintain the integrity of the whole.
Should the time come to part ways with your graphics, safe removal is an important consideration. Air and a moderate heat source can make adhesive less tenacious, making it easier to peel off without damaging the underlying plastic.
Customizing Your Dirt Bike Graphics
If you’re looking to create a set of custom graphics for your dirt bike, here are some tips to help you get started:
- Know Your Bike’s Dimensions: Before anything else, gather precise measurements of your bike’s panels. This ensures your custom graphics fit perfectly without excess or shortage.
- Reflect Your Personality: Think about what colors, patterns, or logos represent you as a rider. Your custom graphics should be an extension of your personality on the track.
- Consult a Professional Designer: If you’re not confident in your design skills, working with a professional can make your vision a reality, ensuring a polished end result.
- Consider Durability and Functionality: Choose materials that will withstand the rigors of dirt biking. Remember that quality materials might cost more upfront but can save money in the long run by lasting longer.
- Mock-Up Your Design: Utilize design software to create a mock-up of your graphics. Some companies offer online tools to see what your design will look like on the bike.
- Incorporate Sponsor Logos Appropriately: If you have sponsorships, you’ll want to include their logos in a way that is visible and harmonious with your design.
- Get Feedback: Share your design with friends, fellow riders, or online communities to get constructive feedback before finalizing.
With these tips, you can ensure that your custom graphics truly embody your identity as a rider and stand up to the challenges of dirt biking.
Impact of Custom Dirt Bike Graphics
Custom dirt bike graphics are more than just a way to make your bike look good; they’re a form of self-expression on the track. Sporting a design that is uniquely yours can increase your confidence and enjoyment every time you ride.
Moreover, these custom graphics can serve as a signal to sponsors, displaying your professionalism and commitment to the sport. For those who compete, the visual impact of their graphics can make them more memorable to fans and other riders, essentially acting as a moving billboard that showcases their brand and sponsors during races.
This blend of form and function exemplifies how customizing your dirt bike’s appearance can have a profound impact on your riding experience and personal brand.
Conclusion
Graphics on a dirt bike may seem like a small detail in the grand scheme of things, but they contribute significantly to the joy and pride of riding. In this guide, we’ve covered the various facets of dirt bike graphics from understanding their role to selecting, applying, and maintaining the perfect design.
Graphics are a potent way to tell your story as a rider, so take the time to select and apply them with care. Whether you’re a weekend warrior or a seasoned racer, your dirt bike graphics are as unique as the adventures you take them on.


