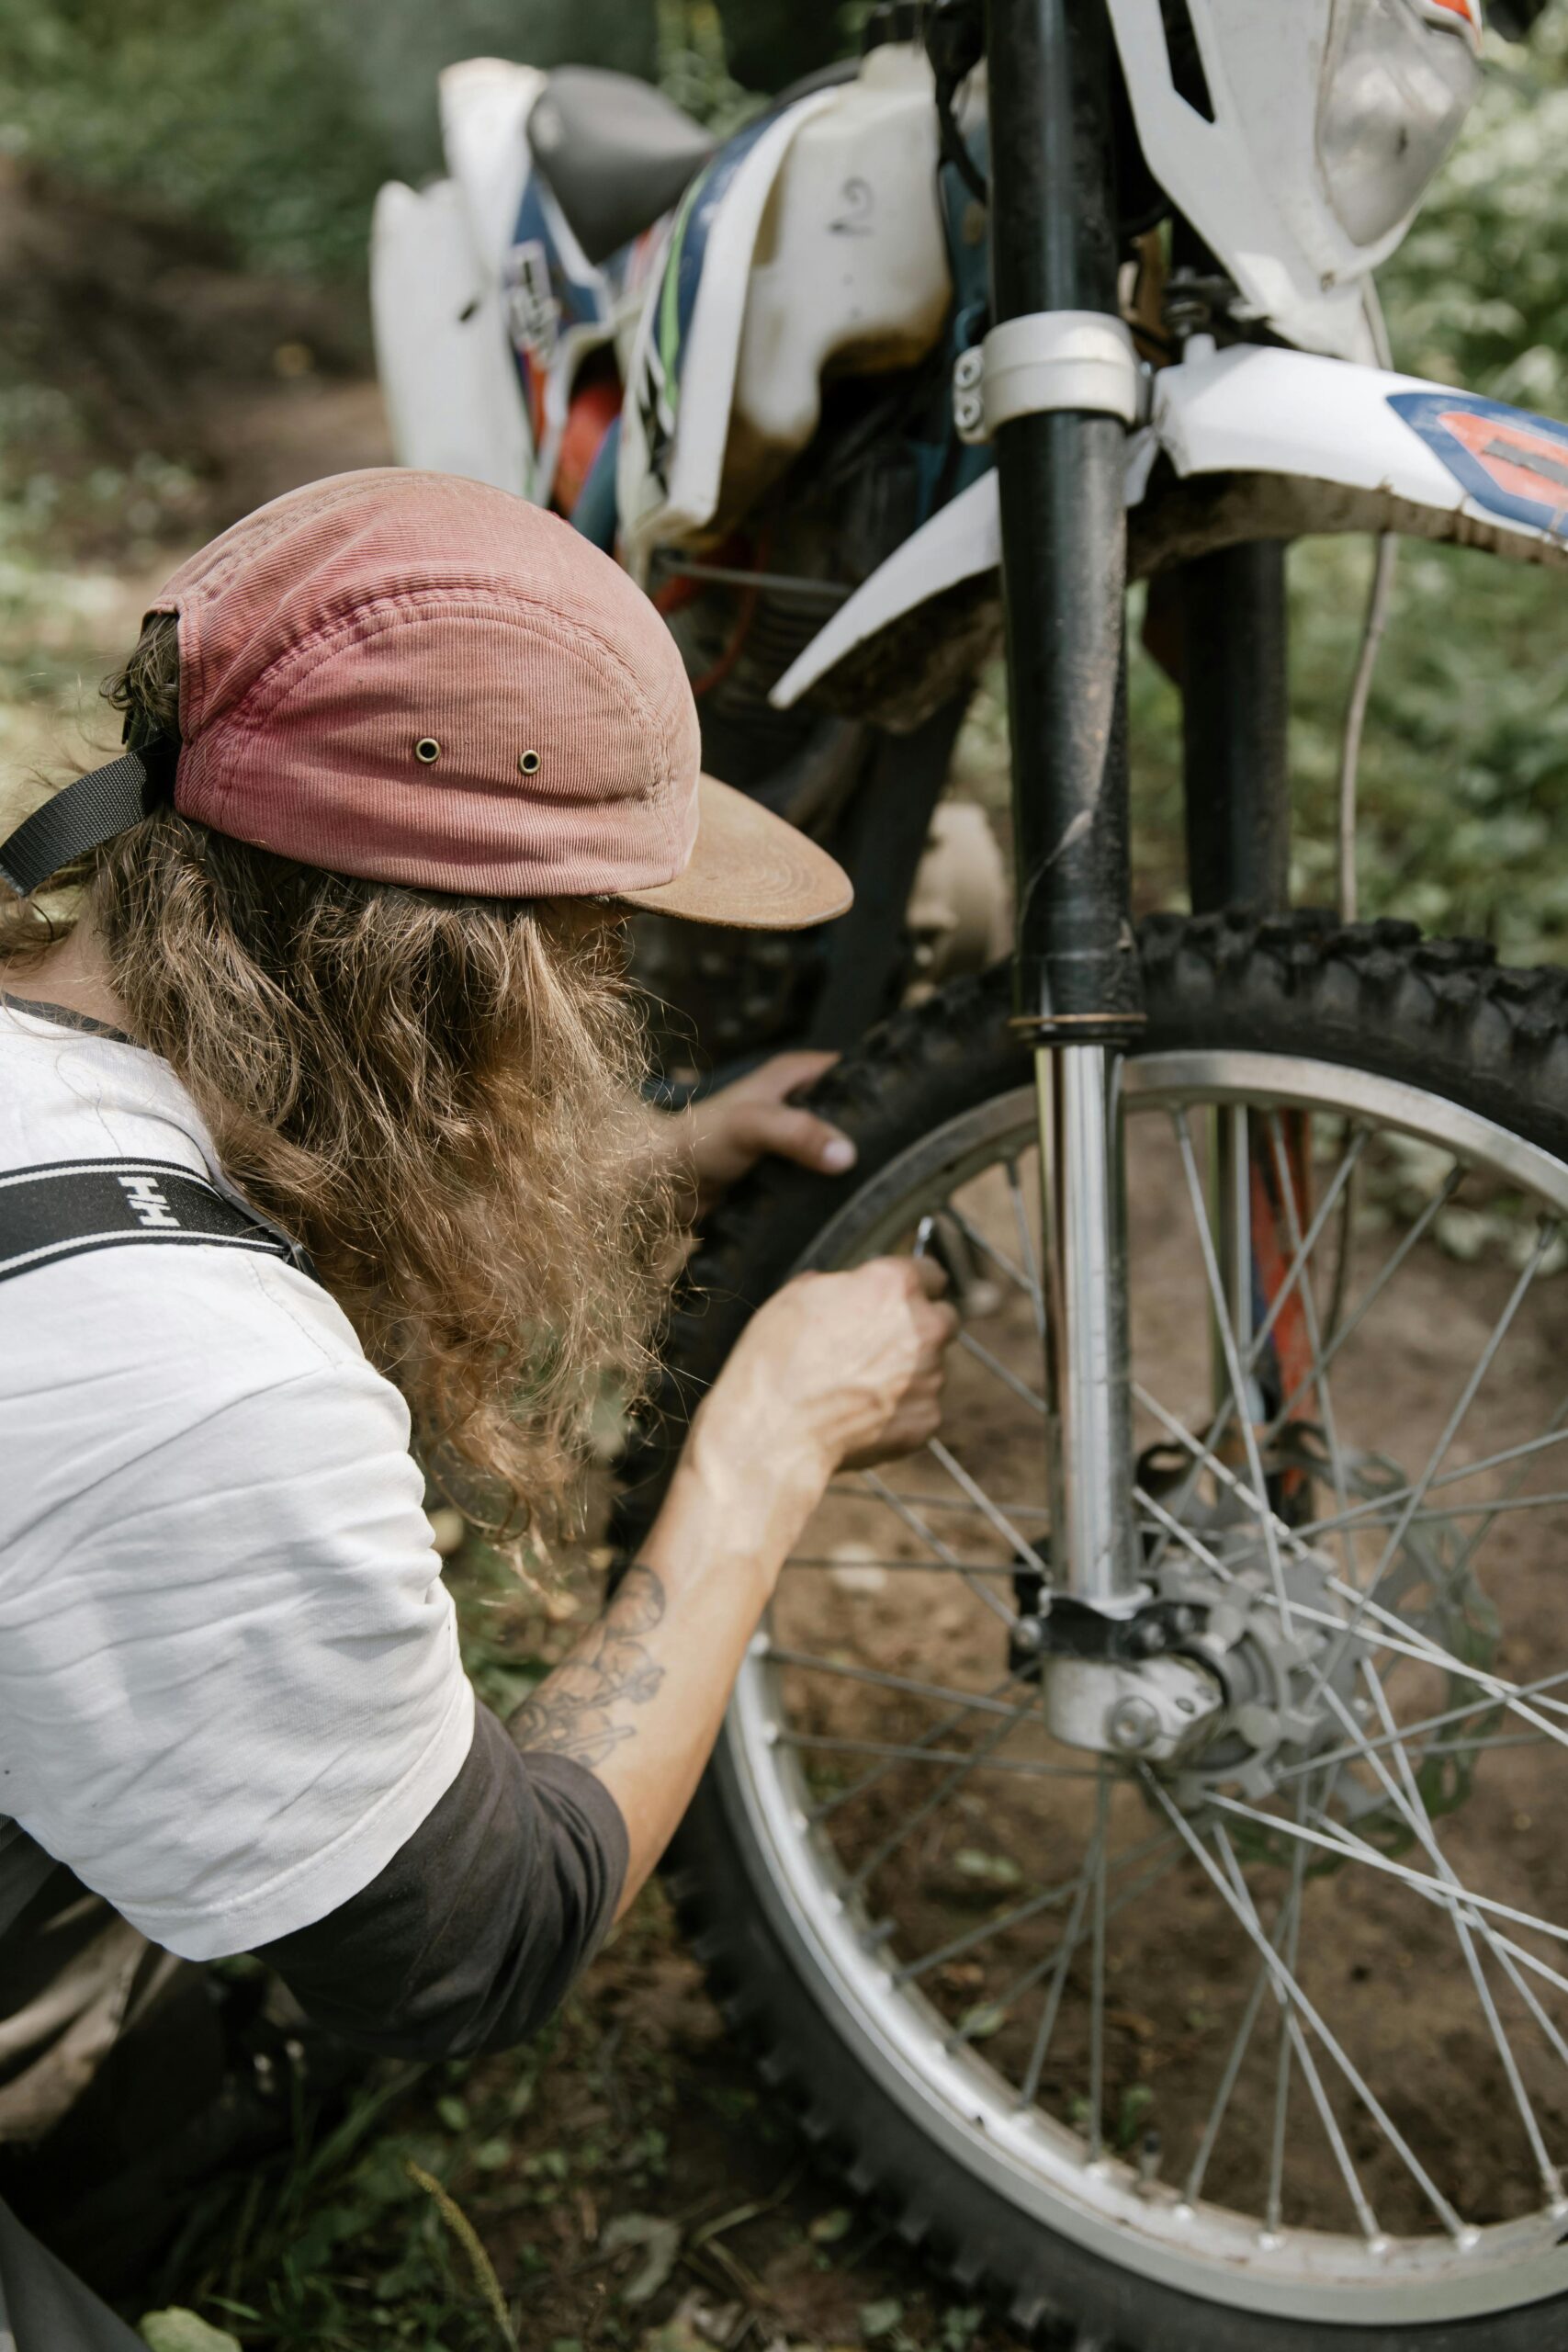
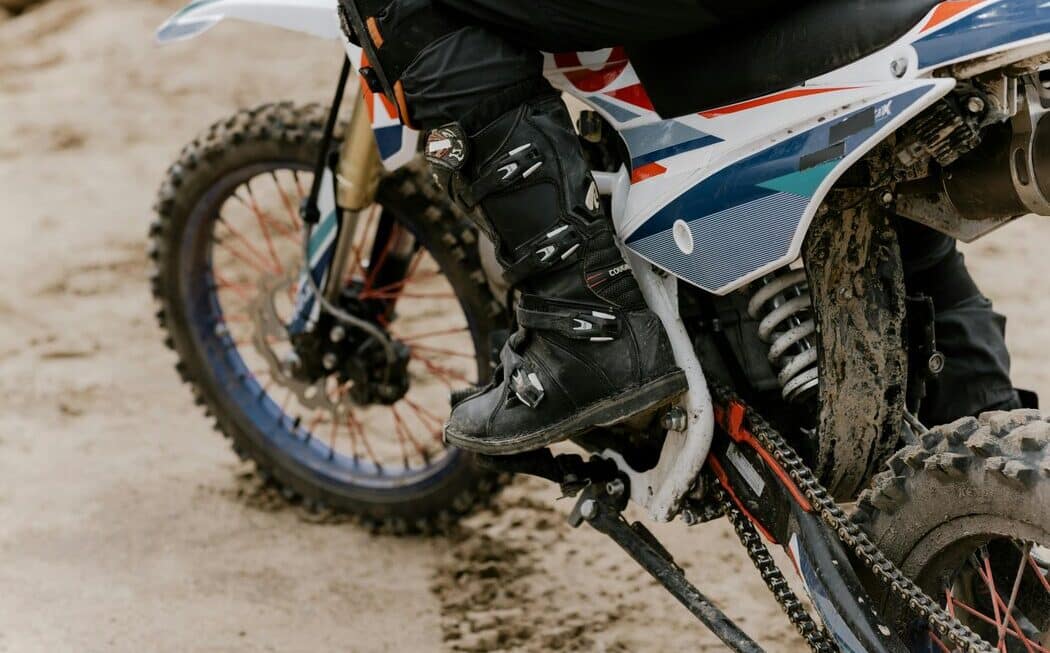
Fixing a dirt bike flat tire is not as complicated as it may seem at first glance. It is very similar to fixing a dirt bike flat tire, but the tools needed for the job are much bigger. If you are an expert dirt bike rider or a beginner, you may be thinking about how to repair a flat tire on your dirt bike?
The process itself involves removing the wheel, dismounting the tire from its rim, and inspecting it for any visible signs of damage or debris that could have caused a puncture. Depending on which course of action you decide on, you might need to patch the tire or go ahead and insert a new inner tube if possible. Once everything’s in order again, just re-mount the tire on its wheel, as you would do when restoring your bicycle flat tire. After all parts fit properly again make sure to let some air in (preferably compressed air) and check again for any dislodgment before taking it out for a spin!
How to Repair a Flat Tire on Your Dirt Bike (Step-by-Step Process):
Here are some steps to repair a flat tire on your dirt bike:
Step 1
Having a reliable dirt bike stand is key to making sure your bike stays upright when performing any kind of repair or maintenance. One easy and convenient way to make an effective stand is to use a milk crate. To do this, you’ll first need to remove the front wheel and then place the crate on its side beneath the engine to bear the weight of your machine.
Despite this being such an effective solution for short-term parking, it’s important not to rely on it as a permanent storage option as the plastic can eventually sag and cause it topple over with time. The best workaround for keeping your bike still during repairs is investing in quality double kickstands or equivalent safety measures designed to hold up even heavier motorcycles without issue.
Step 2
Removing a wheel from any bike can be a daunting task, but it doesn’t have to be. The most important part of the process is disconnecting the brake cable and speedometer cable, which will vary depending on your bike; then you will usually insert an axle bolt into the hole in the frame and begin to loosen it until it can be removed completely. However, sometimes other bolts help clamp the axle bolt in place.
It is also important not to lose any small parts. When you remove the axle bolt, little bushings or bearings can fall out of the wheel, these mustn’t be lost as they are incredibly crucial components and must be kept safe throughout the process. Taking care not to lose them should be a priority; if they do happen to get lost anyway, make sure you replace them promptly before reinstalling your wheels!
Step 3
Using tire irons to remove your tire from the rim is an important step when changing a flat. Before you use any tire irons, though, it is important to make sure that the ends are not sharp or have corner edges that can damage the inner tube. It would be a nightmare if after all of your hard work of removing and re-installing the inner tube, only for it to have holes in it because you did not pay attention to the quality of your tire iron.
Step 4
The fourth step is to pry the tire off of the rim. This process must be done carefully as it is important not to puncture the inner tube. The tire should first be pushed down around the entire circumference of the rim to unseat the bead and make it loose enough for prying. Then, using a first tire iron, one should cautiously pry over that end of the tire above the rim while ensuring that no inner tube is pinched between any parts or tools used throughout this process. It may be necessary to push down on the other side for the tire not to spring up and reseat onto the rim again, making it more difficult to take off. Prying off a tire can sometimes prove difficult, however following instructions will make certain to prevent any risk of injury or damage from occurring due to improper methods being used.
Step 5
Changing a tire isn’t the most difficult task, but it does require patience and care. The fifth step in changing a tire is to use your second and third irons to remove the remainder of the tire from the rim. To make things easier, you can put one knee on the first iron to prevent it from slipping and coming up into your face. Additionally, sometimes the tire might be too secure on the rim, meaning that more effort has to be put in for it to loosen up. In this case, you’ll want to push down on the rim all around its circumference so that you can have more leverage when attempting to remove it with the irons.
When using multiple irons to change a tire, safety should always be your main concern. As much as possible, especially if you see any broken area of rubber, try not to put too much pressure on these places since you don’t want your tools or hands getting cut off due to an unexpected snap. Take advantage of these moments when changing a tire by being patient and recognizing that warning signs are there for a reason.
Step 6
Pulling the bead of the tire over the rim can be a tricky task, especially with a tight-fitting rim. The most important thing to remember when attempting this step is to pay attention to the details and work slowly and carefully. Using your hands you should start by slightly lifting one section of the tire above the edge of the rim. Once you have gotten it started, move your fingers around in small circles to help evenly distribute pressure while pulling until it is completely seated.
Depending on how tight your tire is, you may need to employ a tire lever or a similar tool to get it rolling initially. After putting enough slack in the lip at one end, grip it with your fingers and work gradually back and forth from side to side while putting even pressure and force along each side.
Removing a tube from a tire is an easy but important step in repairing a flat tire. Before pulling out the tube, it’s important to make sure you have removed the nut on the metal valve stem. Afterwards, it’s necessary to inspect the inside of the tire for the cause of the leak. Nails and staples are some common causes of flats since they can easily puncture a tire. However, sometimes these items may be hard to spot as their heads wear off from driving over them too many times. If these culprits are undetected and not pulled out, chances are high that you will suffer another flat soon enough. Therefore, by properly inspecting your tires and removing any objects that led to leak you can prevent future flats from occurring.
Step 7
Inflating and bubble testing a dirt bike’s inner tube can be an effective way to detect and identify punctures. First, inflate the inner tube with air. Next, fill a tub or bowl with water and submerge the inflated inner tube into the water to look for bubbles. If bubbles are present, they signal that there is a leak. Carefully feel around inside the tire where the bubble emerges until you find the thorn, nail, bullet hole, or other object that caused the puncture. After you have located the source of the leak, it must be addressed so another leak does not occur in its place.
For those who have very small leaks, there are specialized patches built with valves that can plug these holes without having to remove any part of the tire from its wheel assembly. These types of patches do exist but can be hard to come by if you don’t know what specific size valve patch you need for your tire. Remembering what originally caused this puncture will help in finding a suitable patch solution if necessary.
Step 8
Changing the tube of a tire is important to ensure that your ride is safe and effective. The first step toward replacing the tube is to make sure there is a little bit of air left inside it to prevent it from collapsing. This helps keep whatever debris may have entered the old tube safely outside of the new one, while also minimizing any risk of accidentally piercing it with the tire irons during installation.
Once in place, installing the new valve into the hole on the rim can be tricky, but necessary. To ensure that it stays in place upon full inflation, popping on a nut will secure it in its position and stop any chance of pulling back into the rim. Now you’re ready to inflate and start pedaling once again.
Step 9
Prying a tire back onto the rim is a relatively simple process when done correctly, though it can be tricky for those who haven’t done it before. The first step is to use a tire iron to loosen the part of the tire. Make sure to push down on both sides of the tire so that it’s loose enough for you to work with. It’s important to pay attention and watch for small details like an arrow or dot indicating which direction the tire should rotate, as this will help with balance when putting it back onto the rim.
Once loose enough, start prying around the circumference of the wheel in short bursts until there is an even gap all around. Make sure that any markings such as a dot, arrow or other symbols that indicate direction are pointed away from valve stem for balancing purposes. Take your time and proceed slowly while paying close attention to ensure that everything lines up properly and evenly before finally pressing down on all sides to lock everything back into place. When done correctly, your tire should now be successfully reattached onto your rim.
Step 10
Testing is an important step in the tire inflation process, and a trick I learned from my brother Mark can be very useful. Inflating the tire, letting the air out again, and inflating it once more helps to ensure that the tube and tire are positioned correctly around the rim. This makes sure that when you let it sit for a while, it holds air consistently. If you need to know for sure right away, then dunk tank testing could be your solution.


One thought on “How to Repair a Flat Tire on Your Dirt Bike”